I Have Tested it myself using windows 8 creating extra partition for Backup Storage
You should view a video how to create partition and backup
Video Link: https://www.youtube.com/watch?v=QmtXx16uSQA
Important Points :
The recovery from system image will brought you back exactly at the same point at when you created the backup
Introduction
Windows 7 and Windows 8 include the ability to create a system image that can be used to restore your computer's hard drives back to the exact state they were in when you created the backup. This backup is an exact replica of your drive including your personal data and Windows files. This allows you to setup your computer exactly as you want it and then restore it back to that state when it starts to exhibit problems or when you wish to start over. You can create a system image manually when you wish or you can schedule its creation by using the Windows 7 File Recovery program.
This tutorial will walk you through creating a manual system image or to schedule the creation of one every day. It will also provide information on where these backups are stored and how you can keep copies of more than one system image on your backup drive if you manually create your system images. If you have any questions regarding this tutorial, please feel free to ask in our Windows 7 or Windows 8 Forum.
It is possible to schedule an automatic system image backup of Windows using the Windows Backup program. This allows you to create daily system images that can be used in the event that you need to perform a complete restore of your computer. The other advantage of creating a system image this way is that you can preserve as many system images as hard drive space permits.
If you wish to schedule a daily system image creation you must first be logged in as an account with administrator privileges.
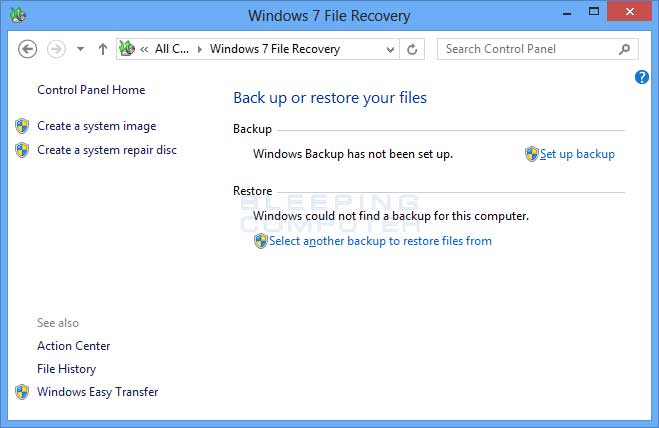
If you are using Windows 7, you need to click on the Start button and type Backup and then click on the Backup and Restore search result. This will open the Windows 7 File Recovery application.
In Windows 8, you need to go to the Start Screen and type Windows 7 file. When the search results appear click on the Settings category as shown below. Now click on the option labeled Windows 7 File Recovery and the Windows 7 File Recovery application will open.
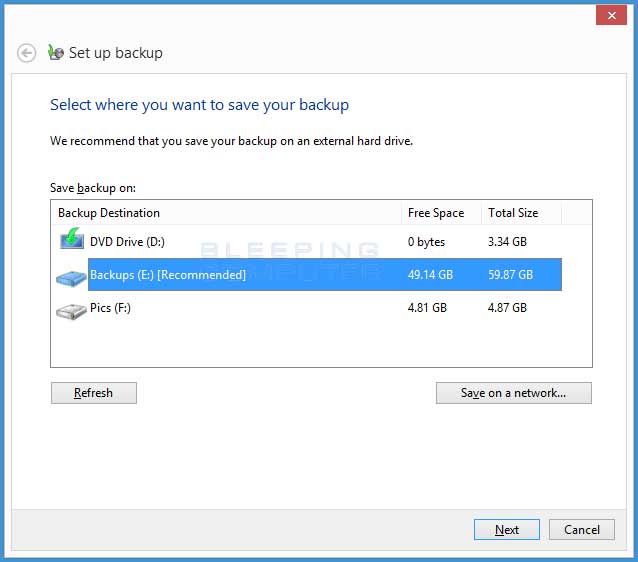
To create a backup, click on the Set up backup option. This will bring you to a screen where you can select where you wish to save your backups. This screen will be slightly different in Windows 7.
Then click on the Next button. You will now be at a screen where you be asked what data you would like to backup. Please click on the Let me choose option and then click on the Next button. You will now be at a screen where you can further select what you wish to backup.
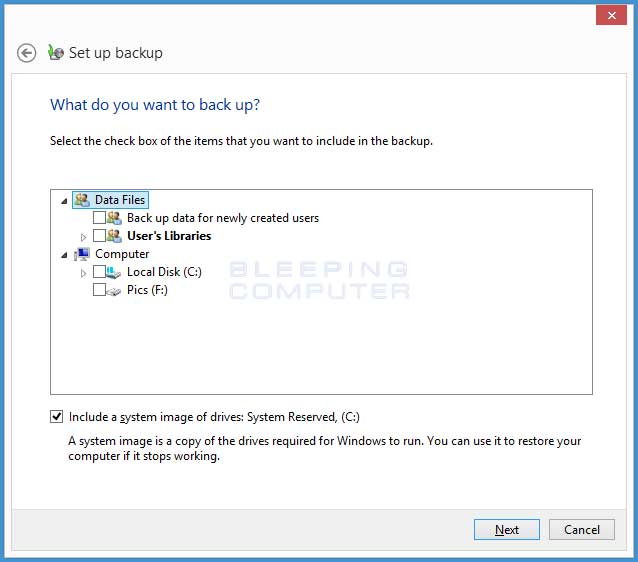
Uncheck everything so that nothing is checked except for the Include a system image of drives check box as shown in the image above. Then click on the Next button and you will be at the backup confirmation page.
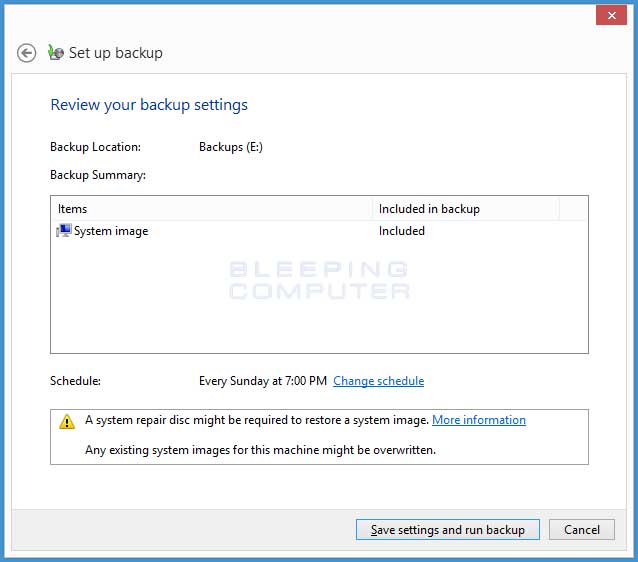
Please note that this backup process has been scheduled to automatically run every Sunday at 7 PM. If this is not the best time for you, click on the Change schedule option and change it to a different time and date. When you are ready to begin the backup, click on the Save settings and run backup button.
Your backup will now start as shown in the image below.
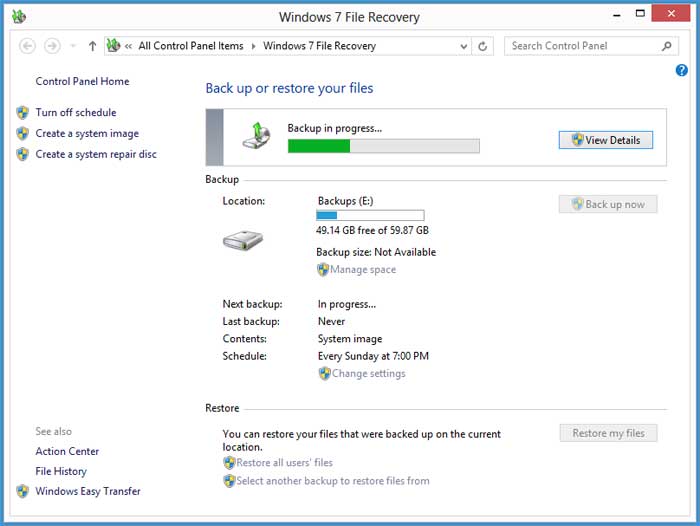
This process may take a while, so please be patient while the system image is created.
In the future if you need to restore your computer from this image you can do so from the System Image Recovery tool in the Windows Recovery Environment. Tutorials on how to restore your system image in the recovery environment can be found here:
How to use System Image Recovery in the Windows 7 and Windows 8 Recovery Environment
When you manually create a system image, you are unable to have more than one system image on your backup drive at a time. If you wish to preserve multiple system images you need to use Windows 7 File Recovery to back it up or rename your system image backup folders.
If you wish to create a manual system image in Windows you must first be logged in as an account with administrator privileges.
If you are using Windows 7, you need to click on the Start button and type Backup and then click on the Backup and Restore search result. This will open the Windows 7 File Recovery application.
In Windows 8, you need to go to the Start Screen and type Windows 7 file. When the search results appear click on the Settings category as shown below. Now click on the option labeled Windows 7 File Recovery and the Windows 7 File Recovery application will open.
To create a system image, click on the Create a system image option. This will open a Window where you can select the backup device you wish to use to store the System Image.
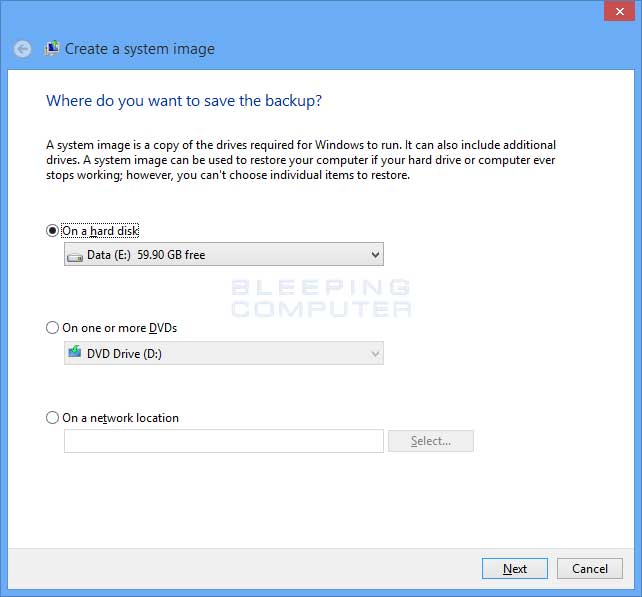
When selecting a backup location, you have the following options:
Hard disk
This option allows you to save your disk image to an extra hard drive installed on your computer, an external hard drive, or a USB drive. As disk images can be quite large, please make sure you use a large drive with plenty of available space to accommodate the image. This is the preferred method for storing your system image backups.DVD
You can also use DVDs to save the backup image. This method, though, is quite time consuming and will require you to use many DVDs to store the image properly. Another important point to consider is that if you lose one of the DVDs or one becomes damaged, the entire system image is unusable. Therefore, it is not suggested that you use this option for backing up your system images.Network Location
This option is only available to Windows 7 Pro, Windows 7 Enterprise, Windows 7 Ultimate, Windows 8 Pro, Windows 8 Business, and Windows 8 Enterprise editions. Using this option you can backup your system images to a remote network share.
When you have selected the location where you wish to save the image, click on the Next button. If you have multiple drives or partitions on your computer, you will now be shown a screen where you can select which drive letters you would like to include in the image.
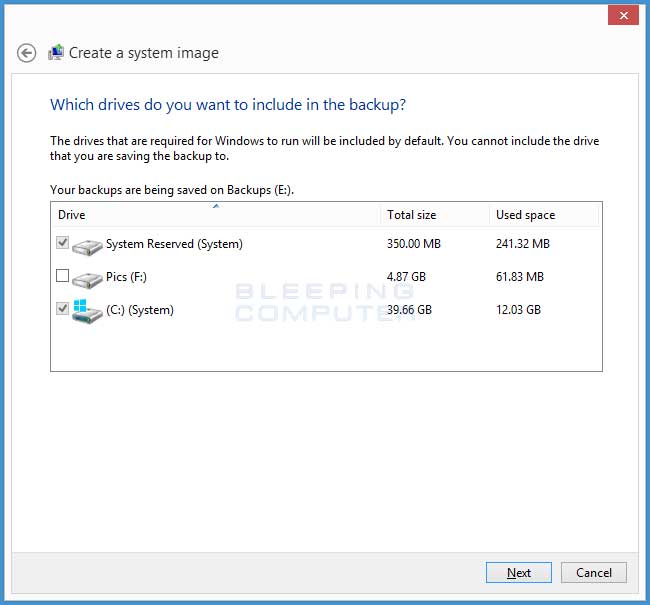
By default, the System and the System Reserved partitions will automatically be selected. You can then select any other partition that you wish to backup as well. When you are finished selecting the drives to backup, click on theNext button.
You will now be at the confirmation screen where you will be asked if you are ready to start the backup.
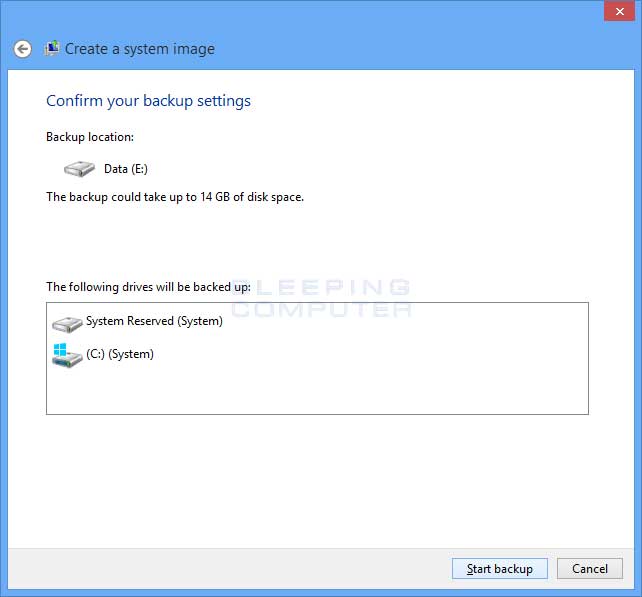
You can now click on the Start backup to begin the backup process.
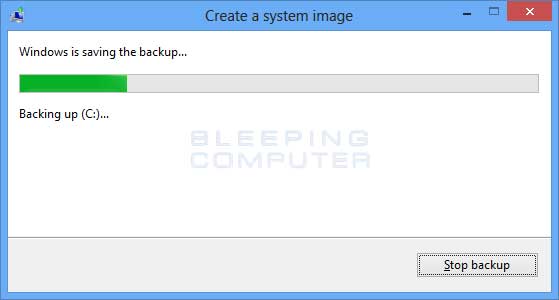
Please be patient while the image is created as it could take quite a long time depending on how much data needs to be backed up. When it is finished you will be prompted to create a system repair disk. You can click on the No button and you will be presented with a screen stating that the backup is complete.
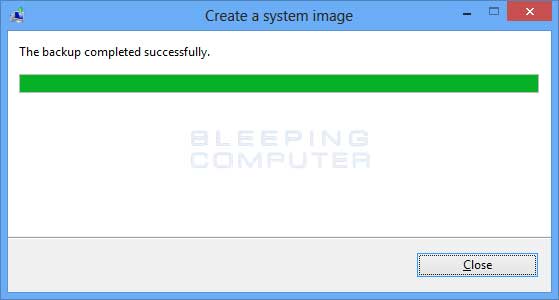
You can now click on the Close button and exit Windows 7 File Recovery.
In the future if you need to restore your computer from this image you can do so from the System Image Recovery tool in the Windows Recovery Environment. Tutorials on how to restore your system image in the recovery environment can be found here:
How to use System Image Recovery in the Windows 7 and Windows 8 Recovery Environment
When you create a new manual system image, Windows will delete the previous one and replace it with the newest one. If you wish to save multiple manual system images on your computer, it is possible to rename the folders that contain the system image so that you can use them at a later date. These system images are located in the following path:
:\WindowsImageBackup\ Backup Year-Month-Day hourminutesecond
For example, E:\WindowsImageBackup\Win8-Test\Backup 2012-10-24 125709, which shows an image created at 12:57:09 PM on 10/24/2012 for the Win8-Test computer.
To save a copy of an existing image before another one is created you can rename the folder in Windows. To do this, open up the drive where the system was created and locate the WindowsImageBackup folder. When you find the folder, right-click on it and select Rename. When renaming the folder it is suggested you use something that allows you to know when it was created. Therefore, use a name that contains the date it was created likeWindowsImageBackup.10-24-12-11-04. This tells you that the system image was created on 10/24/12 at 11:04 AM. If you receive a UAC prompt when attempting to rename the folder, please allow it to continue.
As System Image Recovery will only restore from the WindowsImageBackup folder, when you are ready to perform a restore and want to use an older system image, simply rename the image you wish to use toWindowsImageBackup and perform the restore.